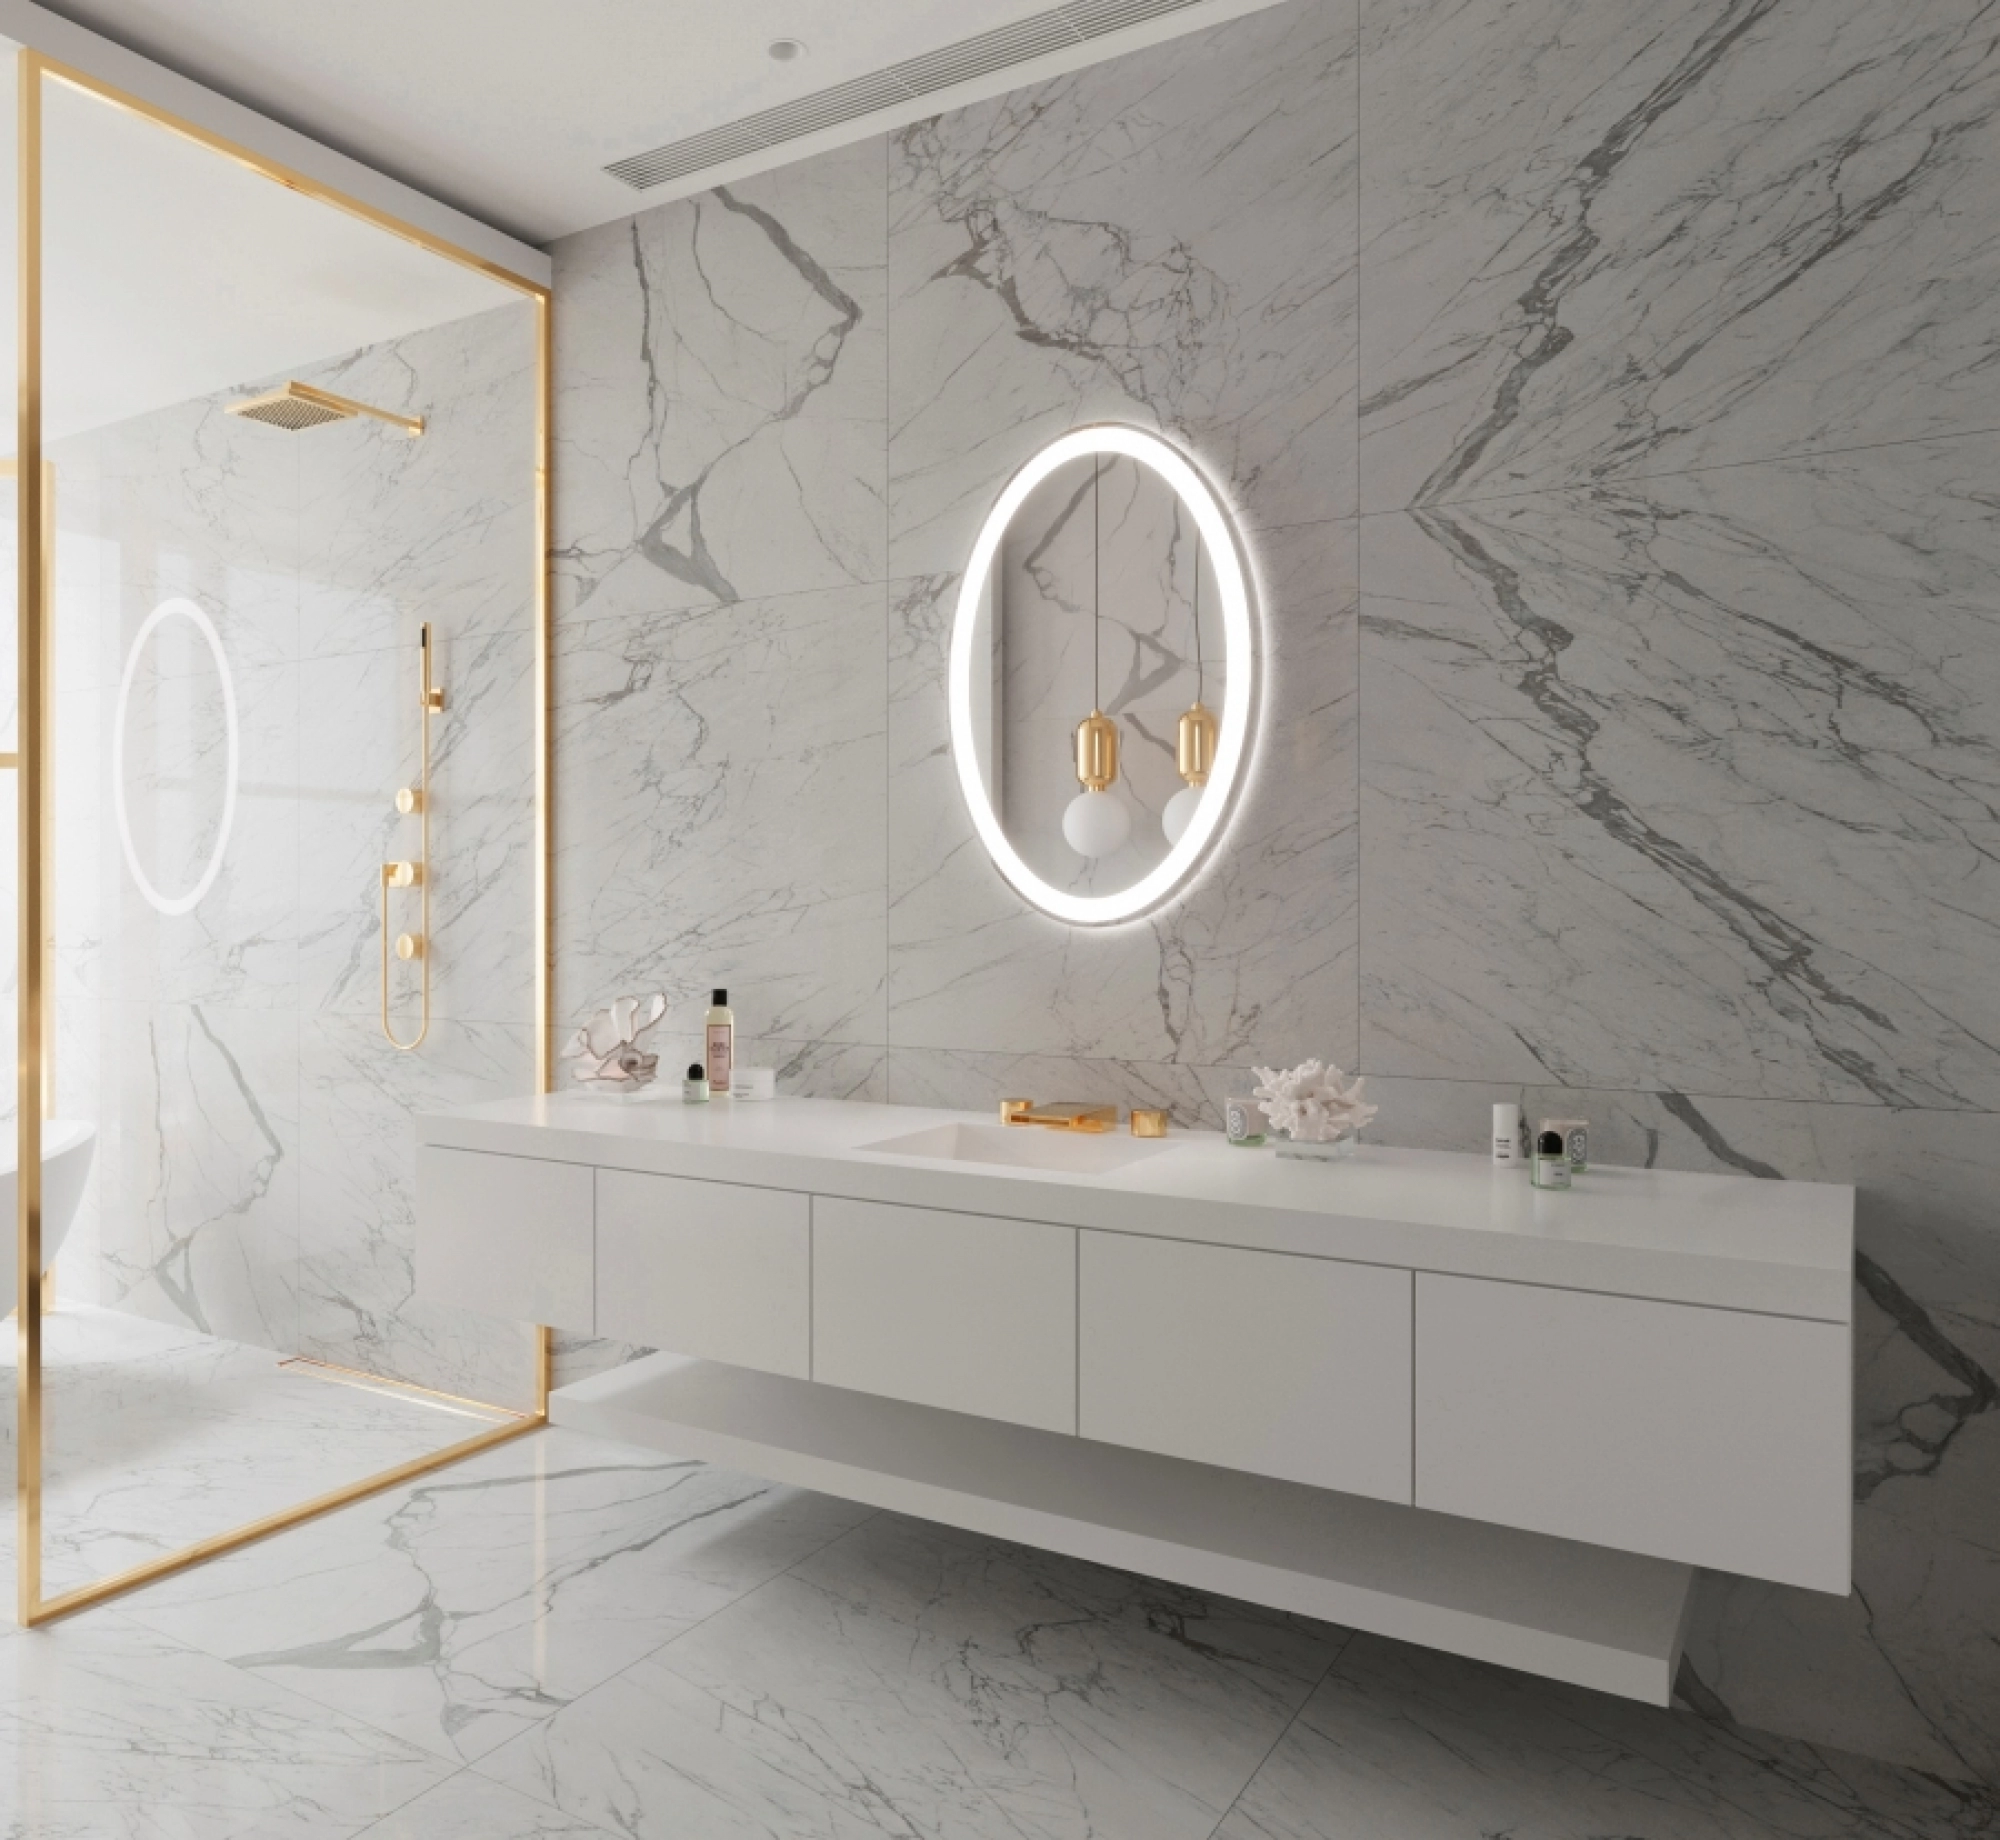
DIY Installation Guide for Your New LED Mirror

DIY Installation Guide for Your New LED Mirror
Installing a new LED mirror, also known as a lighted mirror, can be a straightforward DIY project if you follow the right steps. Whether you are upgrading your bathroom or adding a touch of modernity to your space, an LED mirror provides both functionality and style. Here is a comprehensive guide to help you install your lighted mirror with ease.
Step 1: Gather the Necessary Tools and Materials
Before you begin, ensure you have all the required tools and materials. You will need a measuring tape, level, pencil, drill, screws, wall anchors, screwdriver, and a voltage tester. Additionally, make sure you have the installation instructions provided by the LED mirror manufacturer.
Step 2: Choose the Perfect Location
Decide where you want to install your LED mirror. The location should be convenient for daily use and provide adequate lighting. Measure the area to ensure the lighted mirror fits perfectly. Use a level to mark the mounting points on the wall with a pencil, ensuring the mirror will be straight.
Step 3: Turn Off the Power
Safety is paramount when dealing with electrical installations. Turn off the power supply to the area where you will be installing the LED mirror. Use a voltage tester to confirm that the power is off before proceeding.
Step 4: Install the Mounting Bracket
Most LED mirrors come with a mounting bracket. Hold the bracket against the wall at the marked points and use a pencil to mark the screw holes. Drill pilot holes at these marks and insert wall anchors if necessary. Secure the bracket to the wall using screws and a screwdriver. Ensure the bracket is level and firmly attached.
Step 5: Connect the Electrical Wires
Carefully connect the electrical wires from the LED mirror to the corresponding wires in your wall. Typically, this involves connecting the live (black or brown), neutral (white or blue), and ground (green or yellow-green) wires. Use wire connectors to secure the connections and wrap them with electrical tape for added safety.
Step 6: Mount the LED Mirror
With the help of another person, lift the LED mirror and align it with the mounting bracket. Secure the mirror onto the bracket according to the manufacturer’s instructions. Ensure it is stable and properly aligned.
Step 7: Turn On the Power and Test
Once the LED mirror is securely mounted, turn the power back on at the circuit breaker. Test the lighted mirror to ensure it is functioning correctly. Adjust the brightness and color temperature settings if your LED mirror has these features.
Step 8: Final Adjustments and Cleaning
Make any final adjustments to ensure the LED mirror is level and secure. Clean the mirror surface with a soft, lint-free cloth to remove any fingerprints or dust from the installation process.
By following these steps, you can successfully install your new LED mirror and enjoy its benefits. A lighted mirror not only enhances the aesthetics of your space but also provides optimal lighting for your daily grooming needs. With careful planning and execution, your DIY LED mirror installation can be a rewarding and satisfying project.
